Manage staff conversations and to-do lists digitally
When you want to manage work communication and to-dos
Keep staff conversations and to-dos in digital form — preventing missed handovers and building up operational know-how.
✅ Before you start
- Have you finished adding staff? If not → When you want to organize departments and staff
1. Post on the Work Desk
Click Work → Work Desk in the sidebar.
💡 I don't see the Work menu in the sidebar Starting September 2026, newly created clinics have the work communication feature enabled by default. Clinics created before that still need it enabled per organization — if the Work section itself is missing from the sidebar, ask StepNote to enable it.
To write a post, a board must exist first. If there are no boards at all, only a "No boards" notice is shown — in that case, add a board via Create board in the Work Settings tab, choosing a name and a template (in-clinic notice, work, to-do, purchasing, admin request, or a custom template you made yourself), and it appears on the Work Desk. Only administrators can create boards — when a regular member enters the Work Settings tab, a "Please ask your organization administrator to create a board" notice is shown. With multiple boards, drag the ⠿ handle on a list item to change the display order (administrators and owners only).
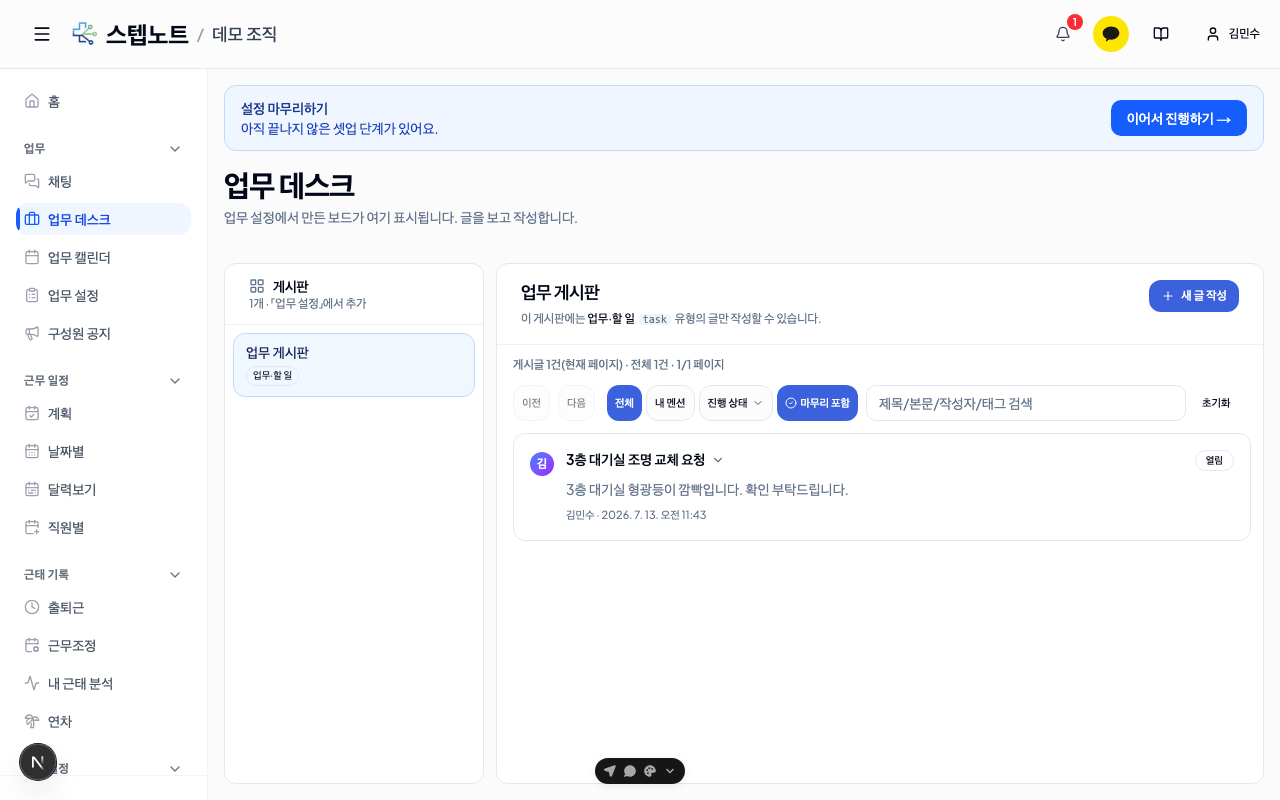
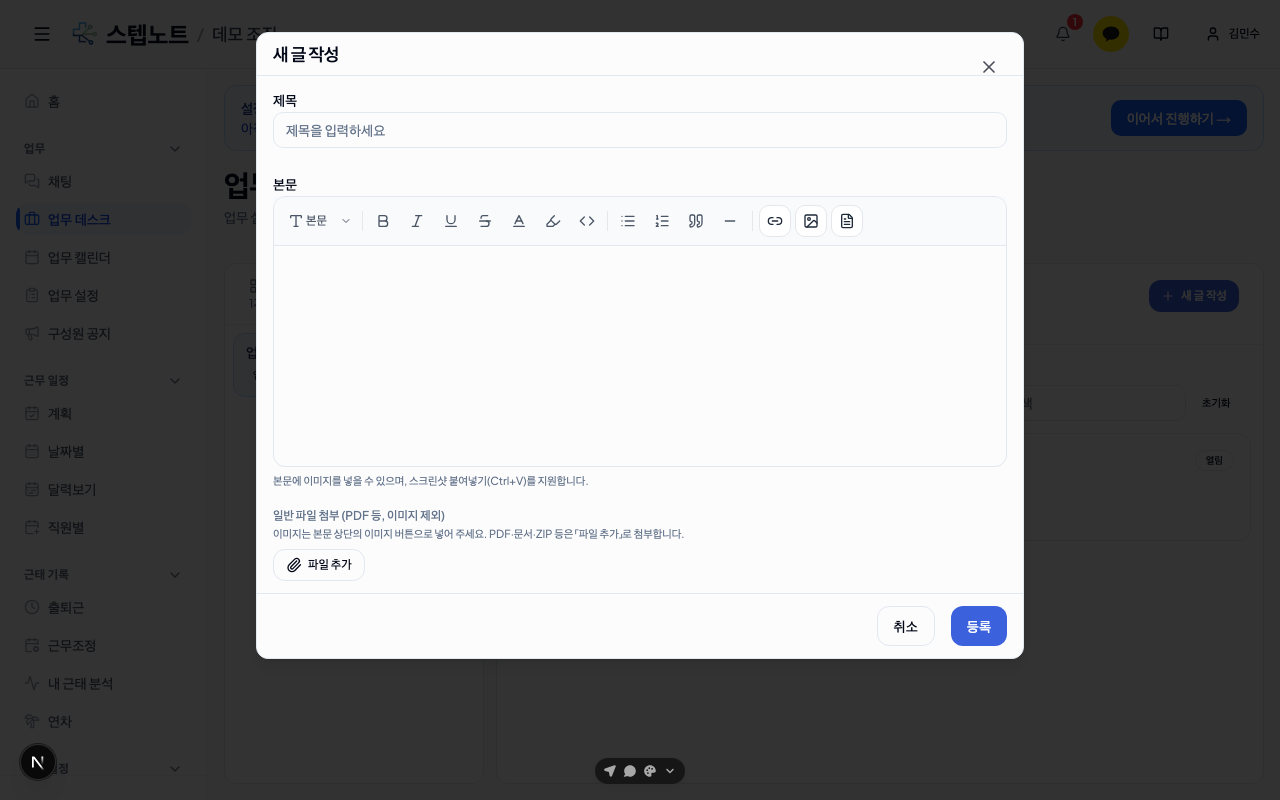
Pick a board on the left and press the New post button to open the composer.
| Field | Description |
|---|---|
| Title | Post title |
| Due date | Shown depending on the board template (optional) |
| Assignees | Shown depending on the board template (optional) — add quickly by name, department, or saved group |
| Body | Rich text editor |
With the body editor toolbar you can apply formatting such as headings (H1–H3), text color, highlighter, inline code, and dividers, and PDF and Excel (xlsx) documents are previewed inside the body immediately upon upload. Just paste a URL into the body (no toolbar needed) and YouTube/Vimeo links automatically turn into a video player, while Google Docs/Sheets/Slides links turn into a read-only preview + "Open" card. Other regular URLs, when inserted with the toolbar's link button (🔗), become link cards with a thumbnail attached (pasting them plainly gives a normal hyperlink).
2. Communicate via chat
Click Work → Chat in the sidebar.
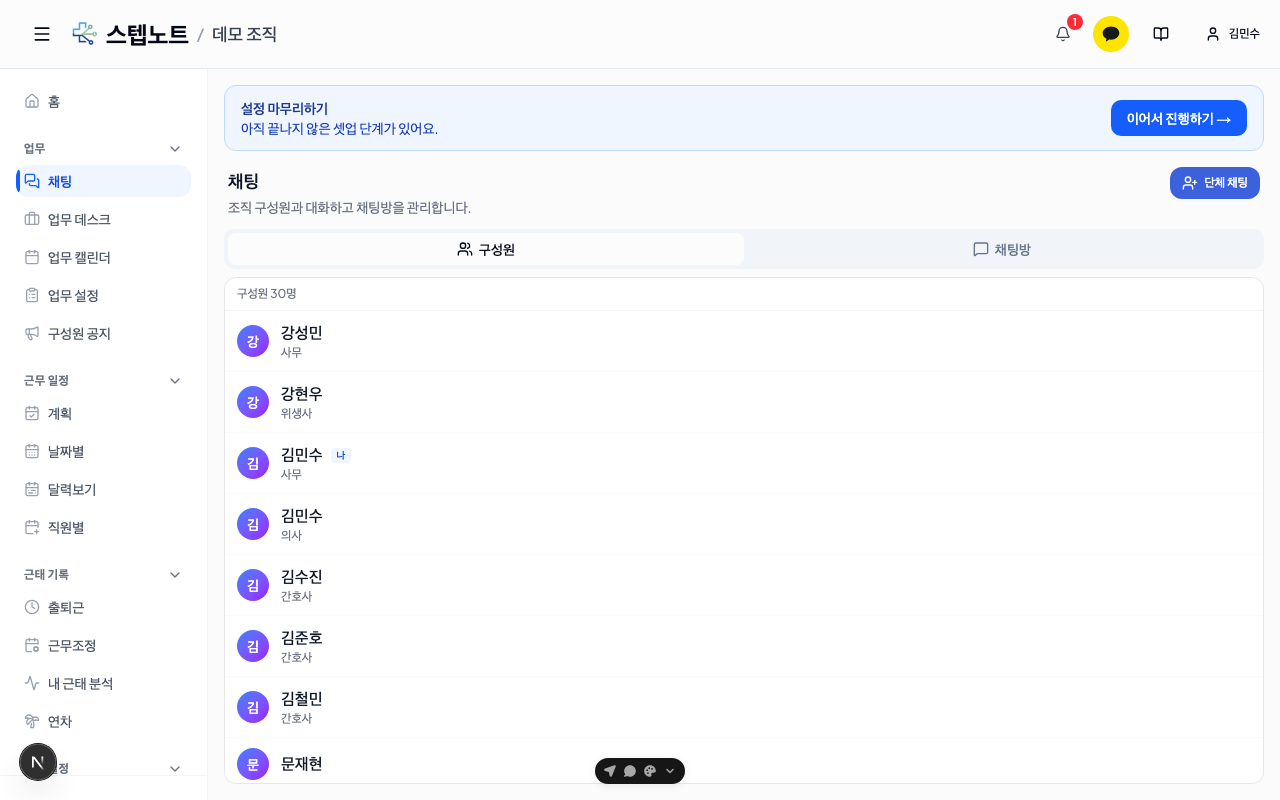
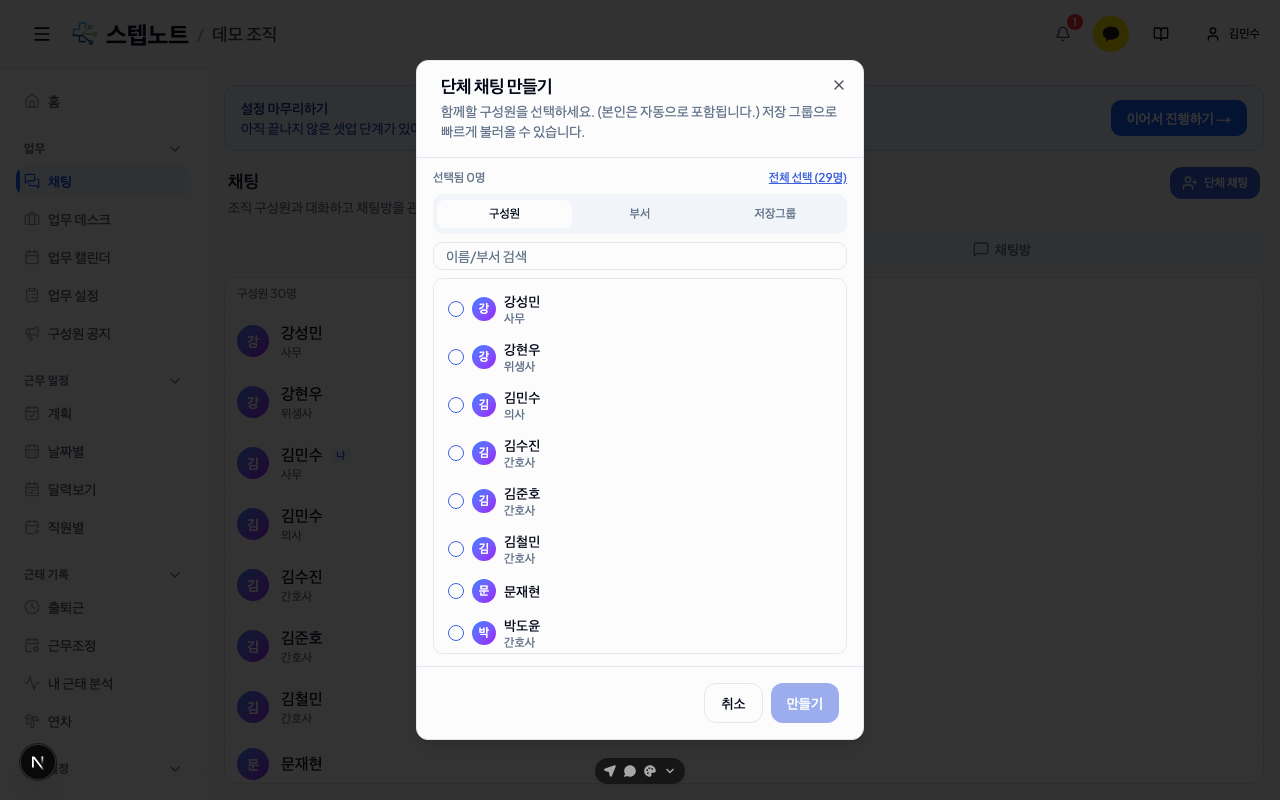
Press a name in the Members tab and a 1:1 conversation opens right away. Group chat rooms with several people are created with the Group chat button — the "Select all (N members)" button at the top of the member selection screen selects all active members of the organization at once.
💡 Managing chat room members In a group chat room, use the header menu (⋮) → Manage members to check participants and invite new members. The owner who created the room can quietly remove a regular member with the Remove button on that member's row, but the owner and your own account cannot be removed.
💡 Sending photos and videos Use the paper-clip (📎) icon to the left of the composer to send photos, videos, and files. Videos must be 5 minutes or shorter, and leaving the app while "Preparing video N%" is shown interrupts the conversion. Tap a received photo to open it full screen, pinch (or scroll) to zoom, and save it with the download icon at the bottom. Long-press (right-click) a message with an attachment and choose Save to document library — see 9. Work Board · Chat and 10. Document library.