Starting point
When you want to set up your clinic for the first time
From signing up for StepNote to creating your clinic and setting the basic operating rules — by the end of this page, you'll be ready to invite your staff.
✅ Before you start
- Nothing. This is where everything begins.
1. Sign up and create your clinic
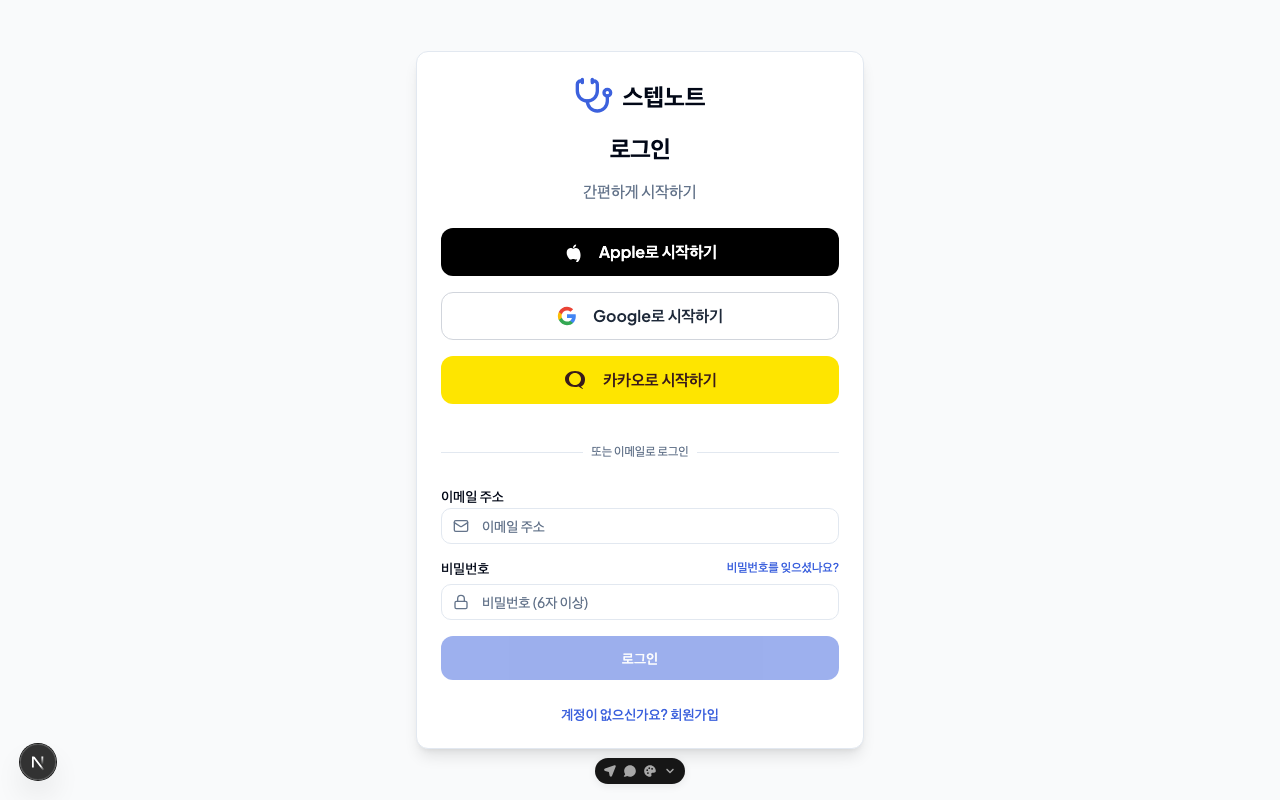
On the login screen, sign up with whichever method you prefer: Apple / Google / Kakao / email. After signing up, press the "Are you a clinic operator?" button on the home screen. A confirmation modal appears — select Continue to move on to the clinic creation form. (If you're a staff member, don't use this button; sign up through the invitation link your administrator sent instead.)
⚠️ The confirmation modal notes that "clinics that are not real (test, duplicate, etc.) may be deleted without prior notice." If you're creating a clinic for testing purposes, it's safest to let the administrators know in advance.
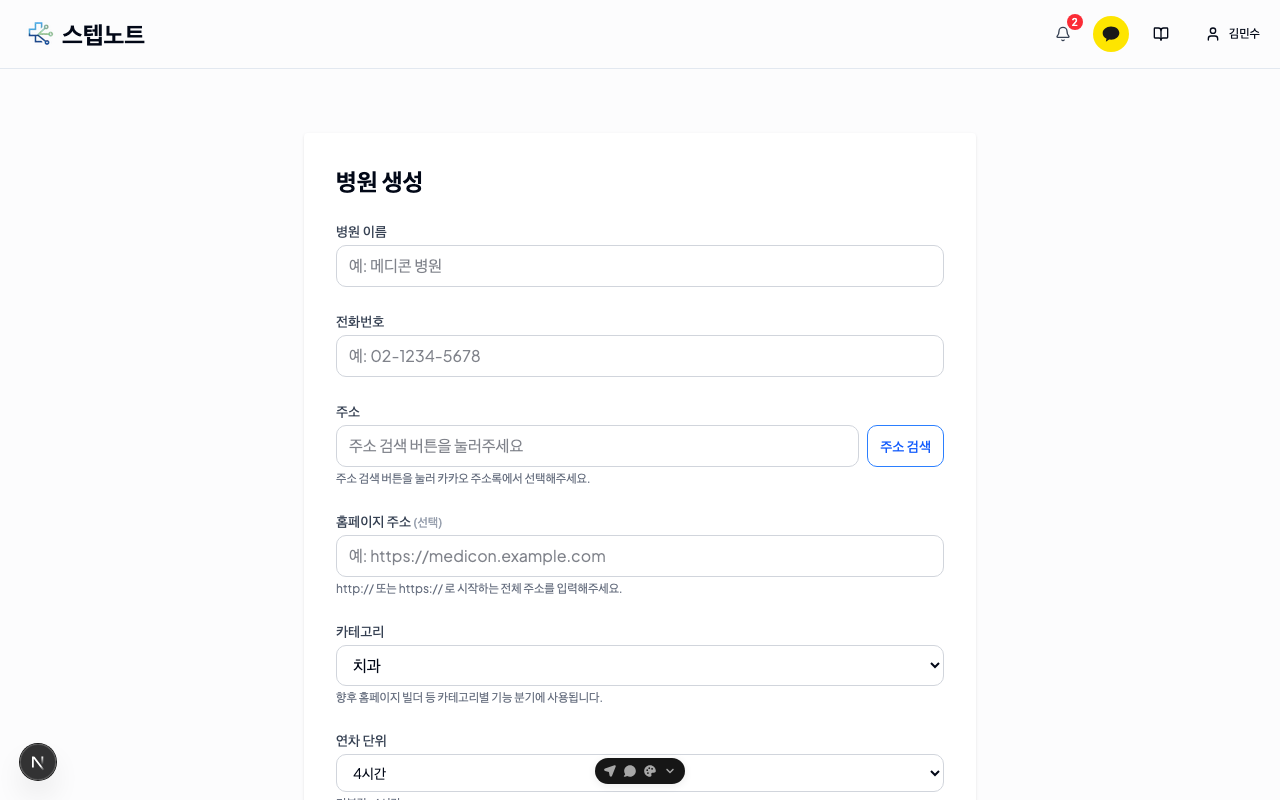
Fill in the following fields.
| Field | Required | Description |
|---|---|---|
| Clinic name | ✅ | The only required field. Everything else can wait |
| Phone number | ⬜ | Optional. Used on staff notices and the website |
| Address | ⬜ | Optional. Use the Search address button to pick from the Kakao address directory. Used on the website and printouts; you can add it later in clinic settings |
| Website URL | ⬜ | You can leave this blank and fill it in later |
| Category | ⬜ | Clinic · Dental clinic · Korean medicine clinic · Veterinary clinic · Other |
| Do you use half-day leave? | ⬜ | Choose Yes, half days too (4-hour units) or No, full days only (8-hour units). You can change this later in Clinic Info |
| Business hours | ⬜ | The per-weekday morning · afternoon · night editor is open from the start, with weekends pre-filled as closed. Used for the schedule and website; change anytime in clinic settings |
Below the form you'll see a note that a website can be built from the clinic name and hours in 5 minutes, plus a help channels card (help chat · KakaoTalk · 30-minute video walkthrough) for when you get stuck.
Press the Create clinic button and your clinic is created, then you're taken straight to the Get started tab.
ℹ️ Each account can create only one clinic. If you come back with an account that has already created a clinic, instead of this form you'll see an "You already have a clinic" notice with only a button that takes you to your existing clinic.
2. Follow the Get started tab
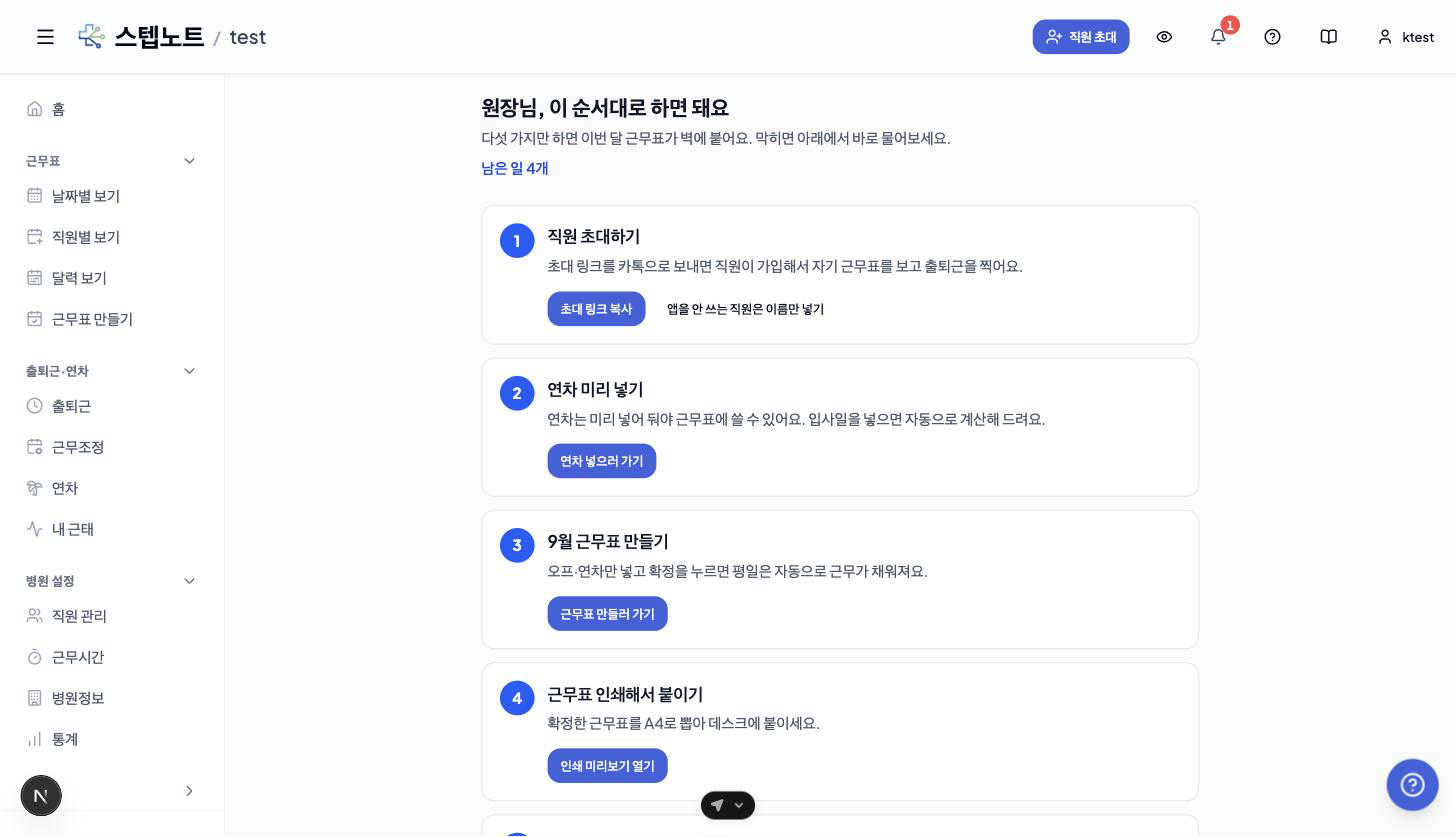
💡 What is the Get started tab? A checklist that opens right after your clinic is created: ① Invite your staff → ② Grant leave in advance → ③ Make the schedule for this month → ④ Print and post the schedule → ⑤ Make a clinic website (optional). Each item has a button that takes you straight to the right screen. You can reopen it anytime from Get started under Home in the left menu, and hide it with All done · Hide Get started when you're finished. If you get stuck, the Stuck? Ask us anytime card at the bottom connects you to help chat, KakaoTalk or a 30-minute video walkthrough.
3. Review the basic operating rules
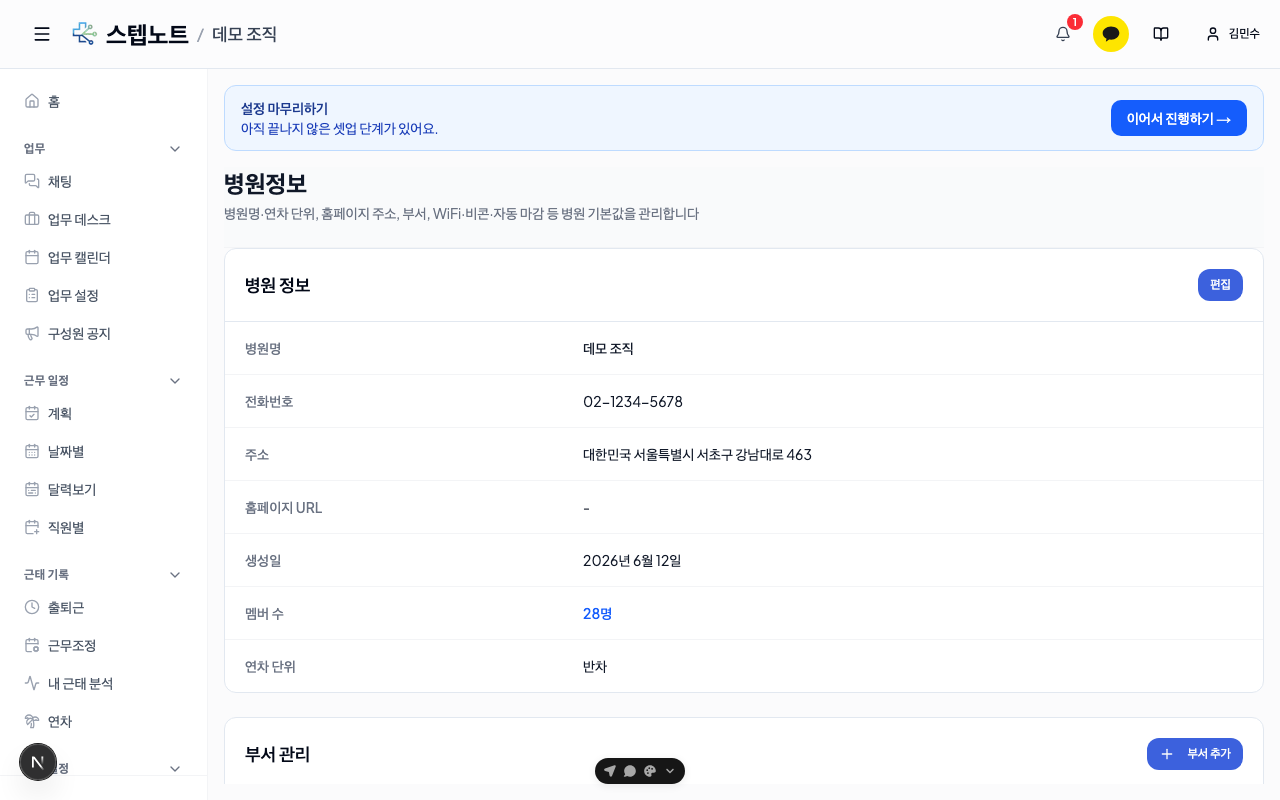
The Clinic Settings group in the left menu is divided into tabs, and each tab is further divided into sub-tabs.
| Tab | Sub-tabs and what they cover |
|---|---|
| Clinic Info | Clinic Info (clinic name · annual leave unit · website URL) · Department Management · Attendance settings (attendance recording mode · WiFi attendance · beacons · auto close-out · kiosk devices · API keys) |
| Working Hours | Clinic Working Hours (hours per weekday) · Per-member Working Hours · Temporary Closures & Schedule Changes |
| Members | Staff list · invitations |
- Annual leave unit is changed in the Clinic Info sub-tab of the Clinic Info tab. Choose between Full day (annual leave is handled as whole days) and Half day (split into morning / afternoon units); all subsequent annual leave calculations use this unit. This is the same setting you chose with the "Do you use half-day leave?" question when creating the clinic (half days = 4 hours, full days only = 8 hours).
- Working hours per weekday are changed in the Clinic Working Hours sub-tab of the Working Hours tab. If every weekday is the same, there's nothing to touch; if they differ by day, toggle the relevant day's row on or off or edit the hours. Checked time blocks require start and end times, and the copy button at the end of a day's row lets you copy that day's hours to all other checked days at once.
- WiFi attendance is turned on in the Attendance settings sub-tab of the Clinic Info tab. Two things must be filled in first — ① on a PC connected to the clinic's router, enter the allowed IP with Use current IP, and ② set the workplace location and radius with Set on map, then press Save at the bottom. After that, flip the activation switch at the top right of the card and it starts working. If either one is missing, the switch won't turn on and a "Setup required" notice is shown. Guidance for staff is covered in When you want to record and check staff attendance.